Resize and Optimize Photos for Websites Using Canva
To quickly and efficiently resize and optimize images is a keystone of any successful website update (or launch!), regardless of your industry.
Many of our web design clients here at PlusROI list resizing and optimizing images as one of their top five pain points. Between the time spent determining exact dimensions, picking the right file type for their needs, and getting it to look how they envisioned for their site, they’re ready to throw their hands up in defeat.
Our go-to recommendation for clients? Canva.
Canva: Your One-Stop Shop(Regardless of Your Tech Know-How)
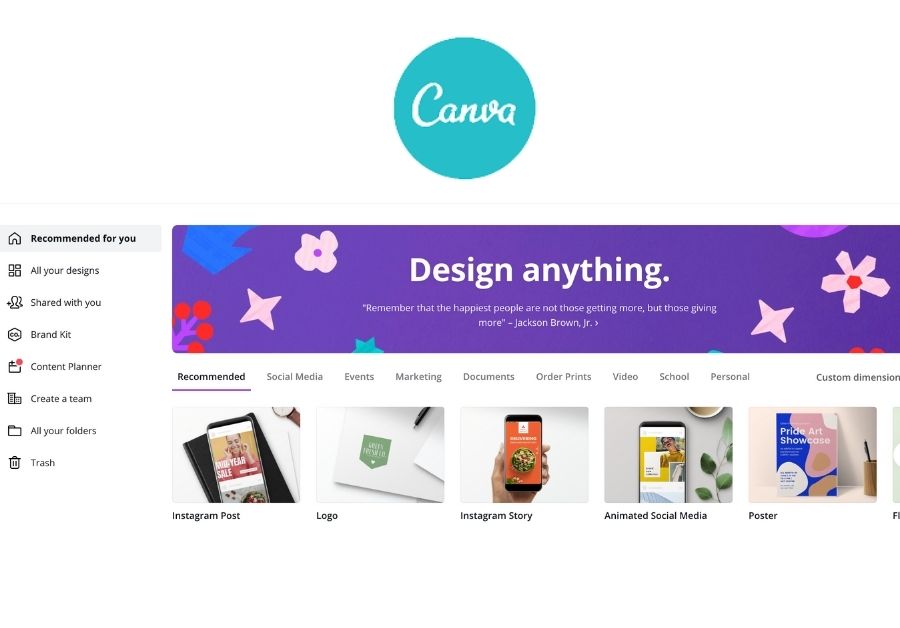
Usable on both mobile and desktop to create and edit a variety of visual content for websites, social media, presentations, and more, Canva comes in either a free or paid subscription. It has long been hailed as one of “the best graphic design tools for unskilled users”.
What makes Canva so great for DIY web design work? Well, it:
- Is a case study in simplicity, with an intuitive layout and easy-to-find walkthroughs
- Offers over 1.5 million image templates in its expansive free library
- Permits collaboration with your team via folder sharing
- Integrates with numerous third-party platforms like WordPress, Facebook, and GIPHY
- Has multiple ways to quickly and easily resize and optimize photos for websites
Today, we here at PlusROI are doing a quick walkthrough on how we use Canva to resize and optimize photos for websites— and how we recommend you use it, too.
The PlusROI-Approved Method to Resize and Optimize Photos for Websites in Canva
First things first: determine the required dimensions for the photos you are resizing to ensure they fit in your website’s provided space.
There are several ways of getting these dimensions:
- Ask your web developer
- Check the size of existing images on your site that have similar placement/size to the one you’re creating (assuming they are optimized in the first place!)
- Use a screen capture tool like Snagit (or the one built into your OS) to do a capture of the image at its full size in the browser and then check the properties of the image to see the dimensions.
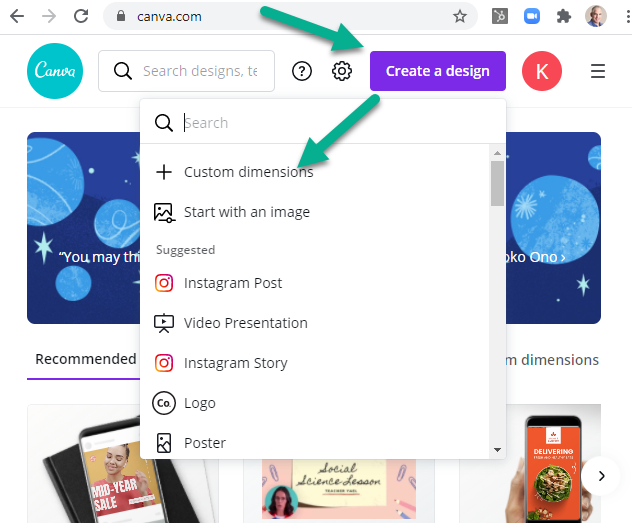
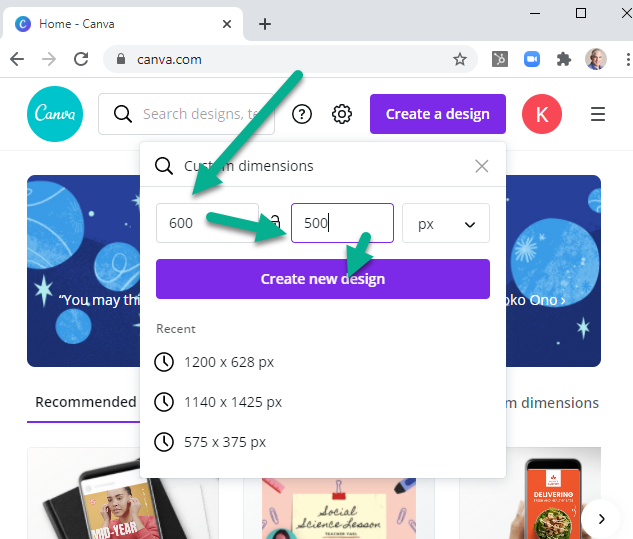
From there we click “Create Design” on the top right corner of the homepage. Then, select “Custom Dimensions”:
Then, simply enter your dimensions (600×500 in this example) and click “Create new design”:
From here, Canva will present you with a blank page with the dimensions you have just inputted. On the left side of your screen will be a scrolling menu with “Upload Media” highlighted at the beginning in white lettering. You can either A), click-and-drop media from your device into the Images section for it to automatically upload or B), select “Upload Media”, then “Device” to upload one or more files. The same can be done for video files. You can also choose to paste images into Canva.
Now, the beauty of Canva’s pre-generated custom dimensions is that, even if your file is too small to fit the dimensions, simply pull one corner of your image using your mouse or touch screen until it fills the desired amount of space. The blue line around the image will indicate where the image extends to.
And that’s that! Canva truly does make resizing images for your website that easy. For reference, all this was done in under three minutes on our end. You then just need to pick your optimization settings and download your image…
Image Optimization Within Canva
Similarly to resizing, using Canva makes image optimization a cinch.
Before selecting your image optimization preferences, we highly recommend naming your resized file something memorable in order to easily find it for later use in your Canva folder. This can be done by deleting the automated file name beside the “Share” button in the top left corner of your screen and inputting your own.
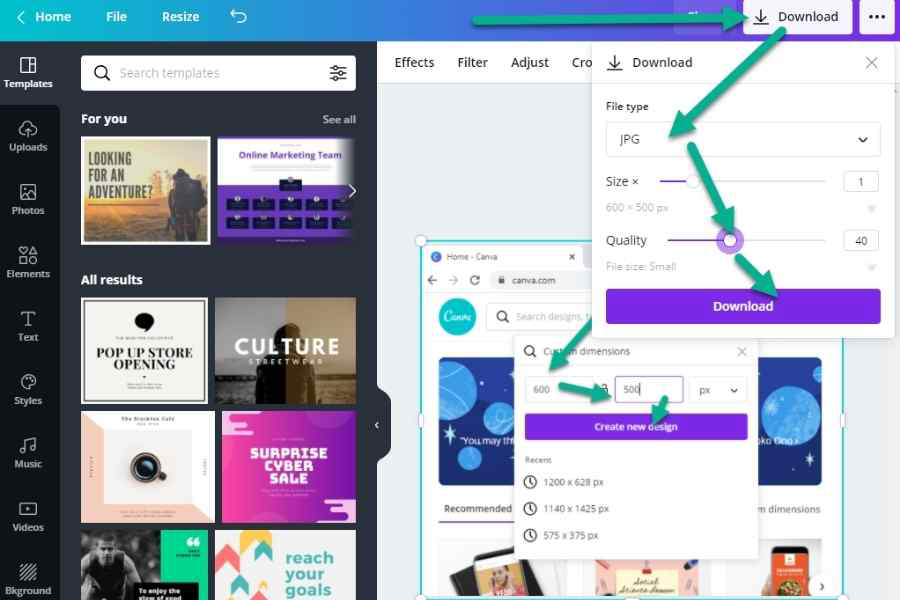
From there, Canva’s “Download” option gives you an array of optimization tools. Firstly, for non-transparent website graphics we recommend clients select JPG instead of PNG for your downloadable file type as it results in dramatically smaller and faster loading images.
Within the same “Download” dropdown menu is where you choose your photo’s quality, which is done via a sliding scale from 1% to 100%. The lower the quality setting, the smaller the file size of the image will be, but you need to make sure you end up with a nice-looking image.
As long as you’re starting with a high quality image, typically quality settings in the range of 35-40% should work perfectly. Better yet, it takes only a few moments to download your image at multiple quality settings, enabling you to quickly check the images on your computer to pick the smallest file size at which you can’t see any quality issues.
Remember: Canva saves your original file, so going back to make any necessary tweaks throughout your website image resizing and optimization is as easy as 1, 2, 3.
We’re here for you.
Please reach out if you have a question or are curious about getting help with your website or web marketing: Contact us today